

Color Correction: Put Your Best Foot Forward
via Hurlbut Visuals
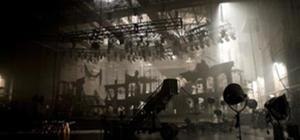
My first experience with the 5D DI color correction was for the Terminator Webisodes produced by the Bandito Brothers through Wonderland Sound and Vision. McG asked me to be the Director/Cameraman for these alternative marketing shorts that were going on the Internet. They would release one a week leading up to the opening date of "Terminator:Salvation."
I wanted the look and feel of the Webisodes to feel like a prequel to the film, so the style and color that I had done on "Terminator:Salvation" would be the consistent thread throughout the project.
When we began the color correction process we quickly realized a new grading process was necessary as the old rules did not apply. We started with a LUT (look up table) that gives you the look and feel of Kodak Vision print stock in the digital world and the Codec just fell apart. Andrew Huebscher, the colorist at Bandito was earning and learning as we dealt with this very compressed Codec for the first time. The old rules of color correcting film and when Andrew would turn the knobs to make a change the color would shift radically. We soon understood that with this fragile color space you had to move the knobs very delicately. We learned not to use the Vision LUT when color correcting digital footage.
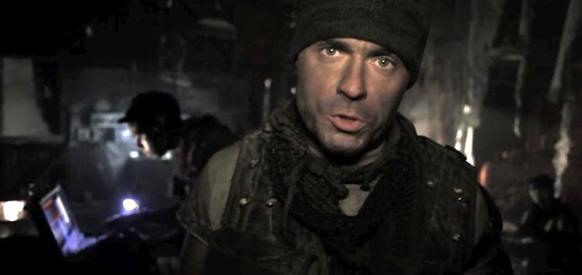
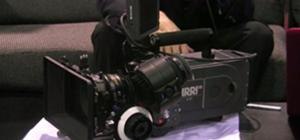
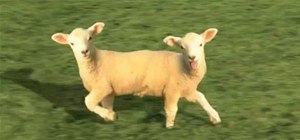
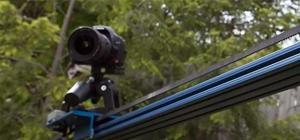
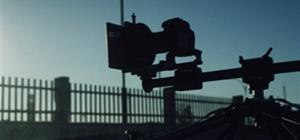
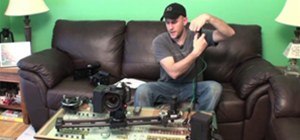
TechCom #2 My first project on the Canon 5D and color correcting with the 8 BIT compressed color space
I treated the 5D like I was exposing reversal film stock, you had to get it close to what your final product would be. Any extreme manipulation in color was difficult. For example, if you were in an interior and then moved outside and forgot to change the color temperature and shot footage. Then, all your exteriors would be blue. It would be very difficult to just fix it in post and difficult to swing. You can do it but it never matches well. It just feels wrong.
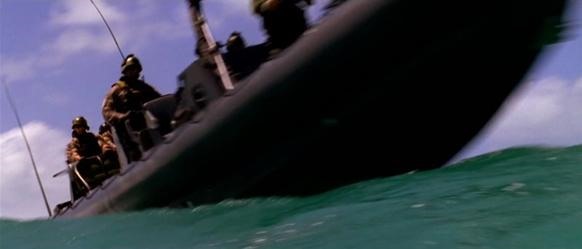
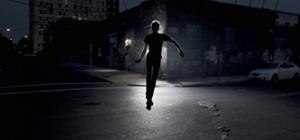
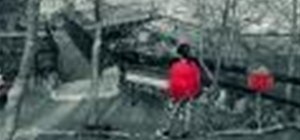
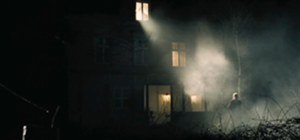
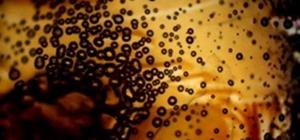
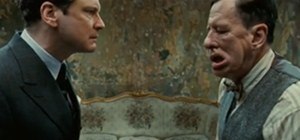
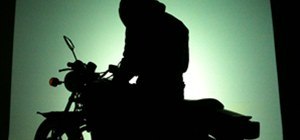
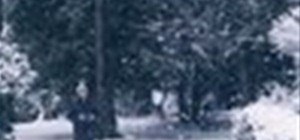
This was a shot from the Untitled Navy SEAL movie. We were color balanced for underwater which is around 7000 deg. K and when our camera surfaced it was way to warm, because our daylight was around 5200 deg. K, we tried to swing it but it has a weird quality.

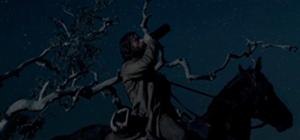
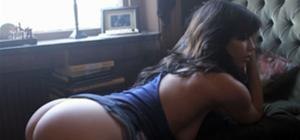
This is another example of our camera being set at 7000 deg. K and trying to swing the image to a more neutral tone, it is not bad, but I feel it still has a bizzarre quality to it.
Our solution was to go back to the RAW Cineform 444 files and start anew. This worked very well and it seemed to give us much more range. I also realized too late that this camera needs light. If you don't feed it enough light the 8 BIT compressed color space quickly goes to 4 and then to 2. You can always create contrast by stretching the image by pushing the whites and pulling your blacks down. Underexposure is a powerful tool with this camera, but the whole image cannot be underexposed. It will result in noise, fall apart quickly in color correction and just look muddy.
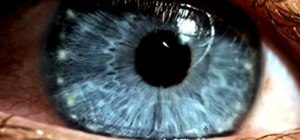
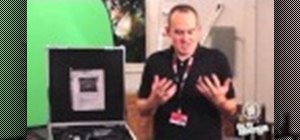
After this first experience I knew I needed to educate myself. I read about different picture styles that gave you more digital latitude but I wanted to create my own and each camera's sensor is different. It is not a plug and play technology. I set out to tackle the EOS utility and the Picture Style editor to create my own RAW look. I took a RAW still image then dragged that image into the Picture Style editor window.
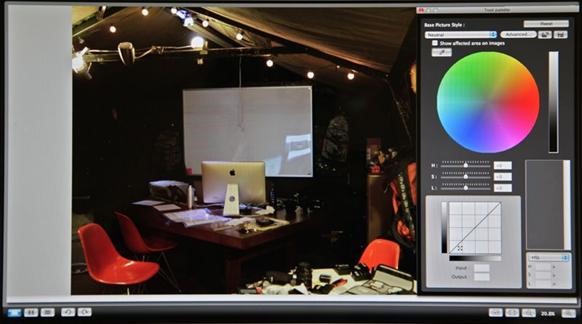
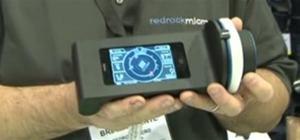
Picture Style Editor w/tool Palette
I then moved my mouse down to the lower left corner where there is an icon that has two squares in it. You click on that and two identical photographs show up on the screen. I then move over to the right side where you find a curve graph.
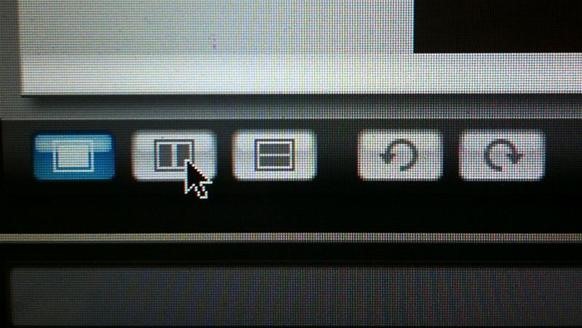
Icon used for creating two identical pictures so that you can see your changes in realtime
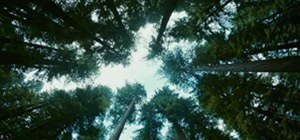
I start at the bottom of the curve and start to bend it to open the shadows. Then, I move up to the middle and open up the mid-tones and then finish at the top swinging the highlights so that I can suppress them to hold more detail.
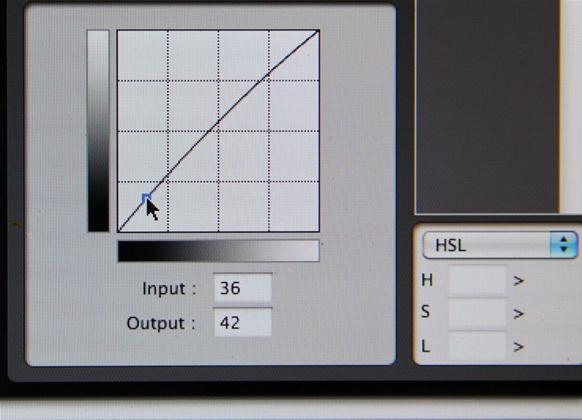
Bending the curve to open up the blacks slightly to increase your dynamic range
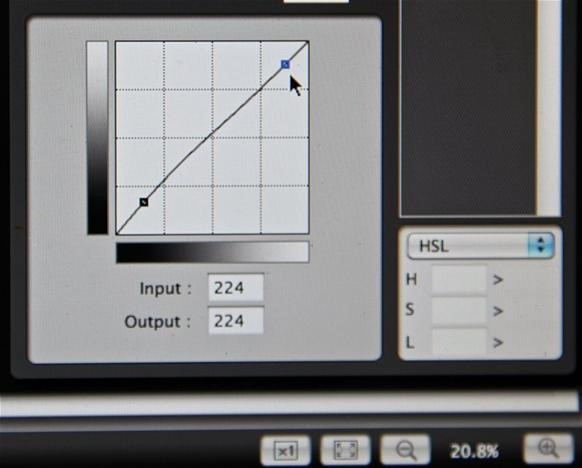
Bending the highlights to bring them slightly down to increase your dynamic range
Once this RAW file worked well in the color-grading bay, I wanted to now design a picture style that took in each camera's sensor personality. The 5D is the king of the hill and all the others are trying to climb up to the top but they don't even have a rope. The 7D has much more contrast, more saturation and less detail. The 1D is a very unique sensor and is incredibly sensitive. I cannot put my fingers on it but it lacks even more detail than the 7D and has a strange contrast along with gray skin tones. It has to be the small mega pixel count. So, I factor all these things into my RAW look for each camera.
Then I went a step further. Balancing camera color is one of the most important things that you can do. Each camera comes from the factory supposedly balanced but all of them have a bias. Set up a white card with the correct color temp. on the camera, which it depends on the color temp of your light. If you are shooting with a Tungsten source then you would be at 3200K, if it is daylight you would be at 5200K and so on. Or you can auto white balance, your choice. Some cameras come with a yellow bias, a magenta bias and or a green bias. Sometimes you get one that is perfect from the factory but from my experience that is not the case.
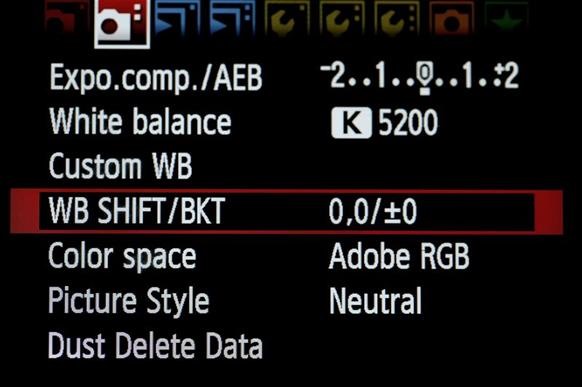
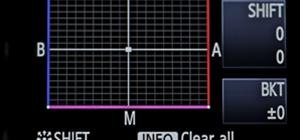
Go To your White Balance Shift and select it
My 7D's have come with a magenta bias and I intensely dislike that color. So dialing that color tone out was my first priority. Here is what worked for me: Go to WB/Shift+- and select it. A graph will come up where it shows a little white dot in the center.
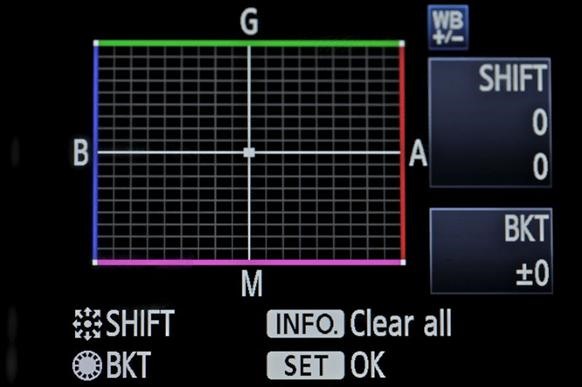
Here is your WB Shift Grid, here you can shift your bias
Go up to the little advance button, which is above the big wheel and it also moves your focus box. Push it one-way or the other to swing your camera to produce pure white. If your camera is coming up magenta, then you would give it a few points to the green.
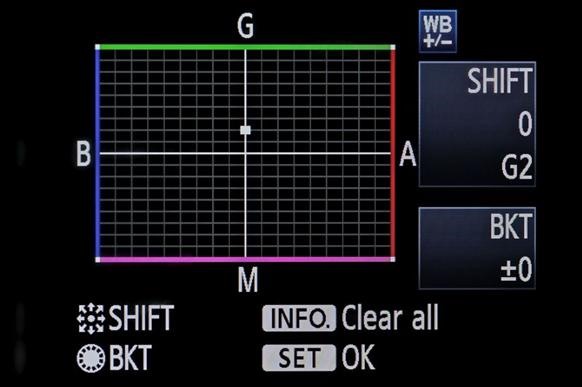
If your camera is magenta bias then slide the dot up into the green 2 points
If your camera has a yellow bias, I would swing it into the blue region.
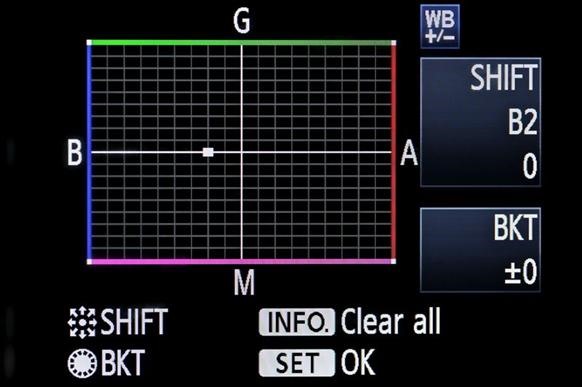
If your camera has a yellow bias then add two points of blue
Now if the color is somewhere in the middle of what those controls can do, you can even more specific with different shades of green, blue, etc. by going diagonally and you get a shade of the red, green and blue.
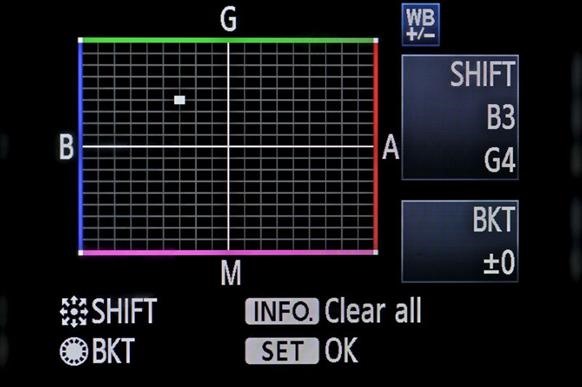
This is if your camera has a magenta yellow bias, you are making cyan by sliding up the grid diagonally
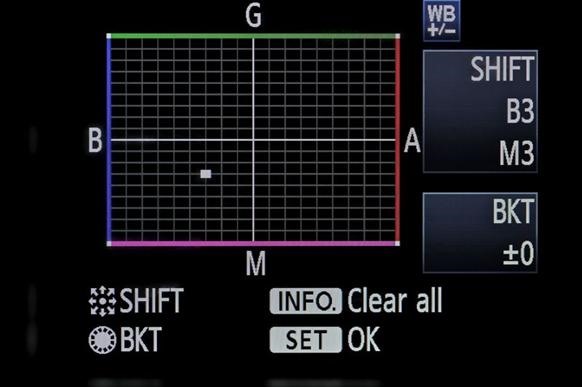
This is if your camera had a red yellow bias, you are adding magenta to counter the yellow and blue to counter the red
I take one camera that I have balanced perfectly white and it becomes my default camera; every camera is now balanced to that. I have tried the waveform monitor thing, but found that to eye it works better for me. If this color space was not so compressed it would not even be an issue. But it is for now and this is the best way that I have found to maximize your color space. Taking two identically calibrated monitors, I put my default camera on one and then the new camera on the other monitor and adjust to eye. Once I get them very close I put a HDMI switcher in line and go back and forth from my default camera to the new camera on the same monitor until it is exact. I just repeat this process until all my cameras are balanced to the default camera. It is so helpful because when you are out shooting with multiple cameras and multiple operators you need to know as a cinematographer that they are choosing the right exposures and color temperatures based on one common denominator, that every camera looks the same.
On the Navy SEAL movie this task was daunting. We had so many cameras coming in from so many different vendors. It is a process that is incredibly important and not many people know that this function exists. We are led to believe that it comes balanced at the factory. I can tell you this isn't the case. Take the time and create a RAW look that you are happy with and see if your camera or cameras have a bias. Happy in-camera color correcting.
Just updated your iPhone? You'll find new emoji, enhanced security, podcast transcripts, Apple Cash virtual numbers, and other useful features. There are even new additions hidden within Safari. Find out what's new and changed on your iPhone with the iOS 17.4 update.


Be the First to Comment
Share Your Thoughts